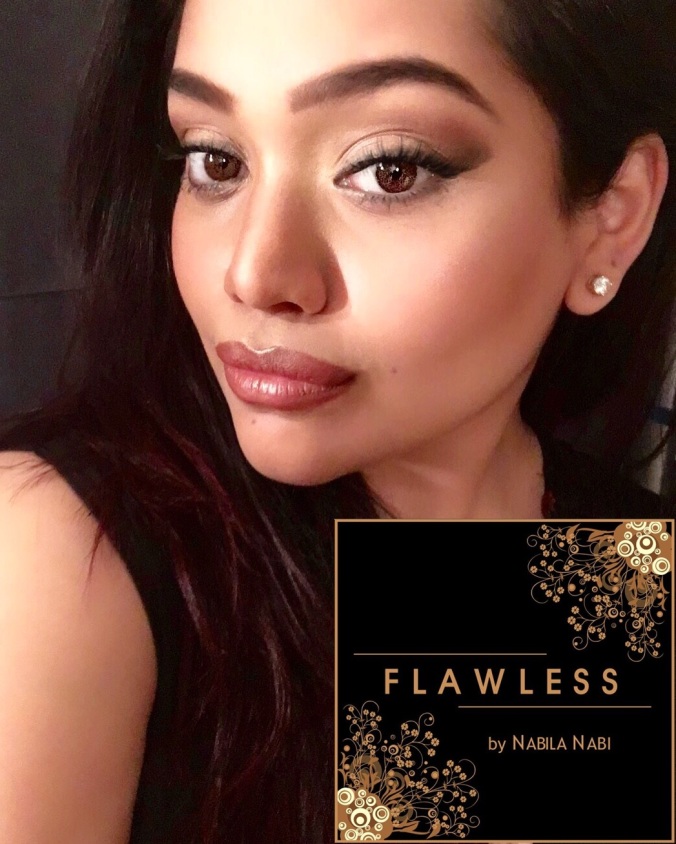
I’ve lately been receiving quite a few questions about the make-up that I use so I decided do a post about the products I use to achieve different looks. I’ve put the products in order of use and I’ve also added a little description for how I use them and their pros/cons.
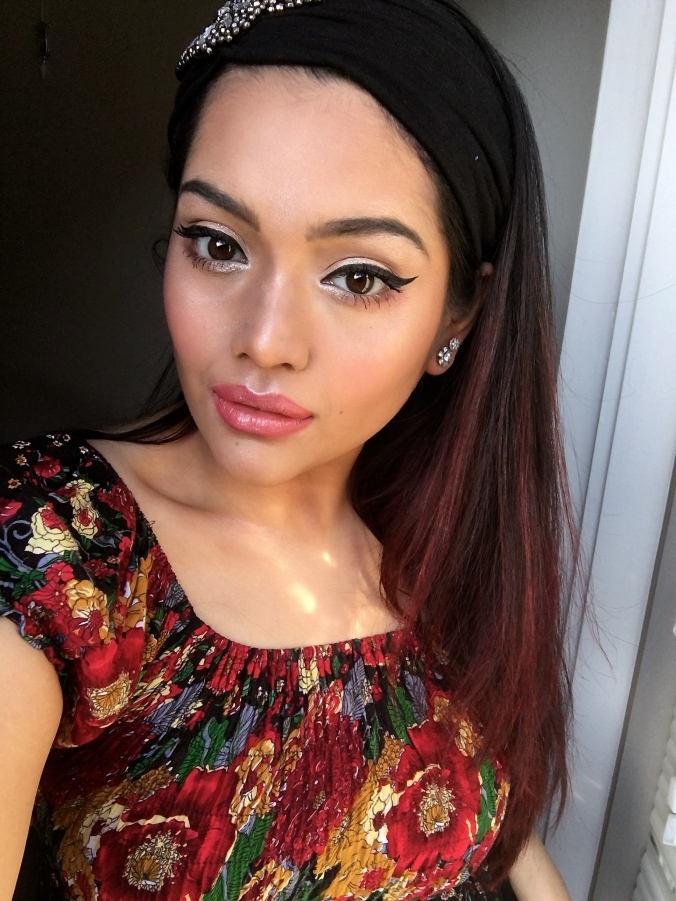
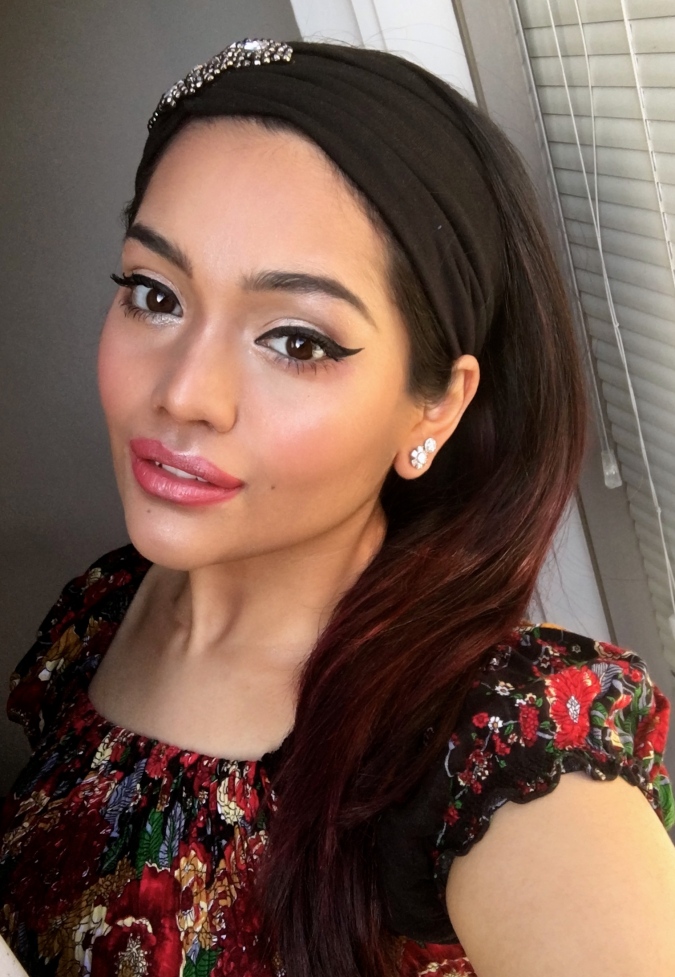
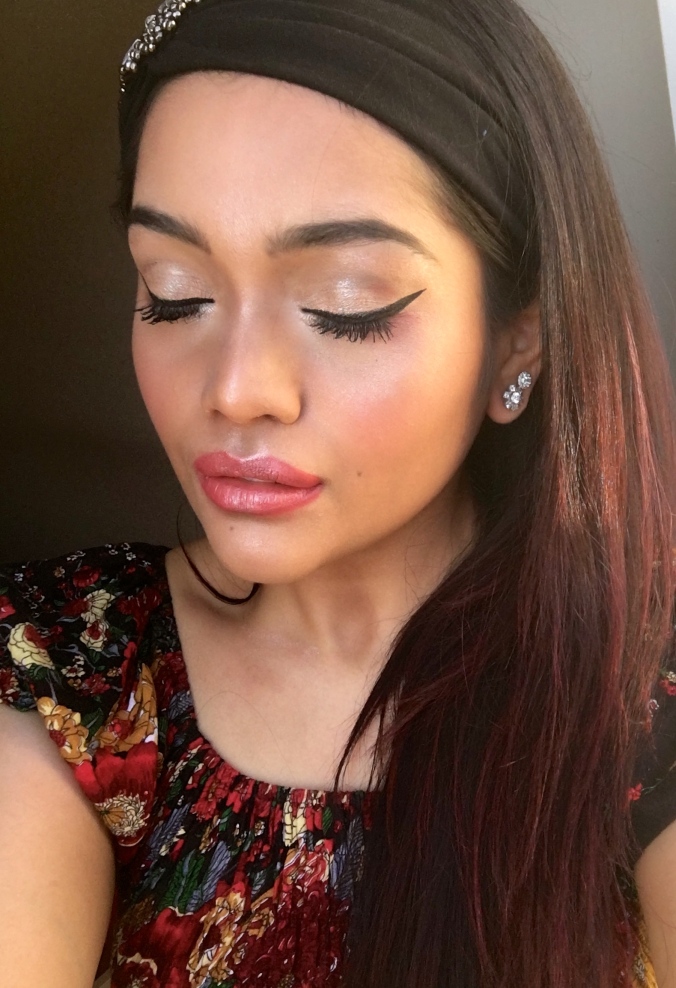
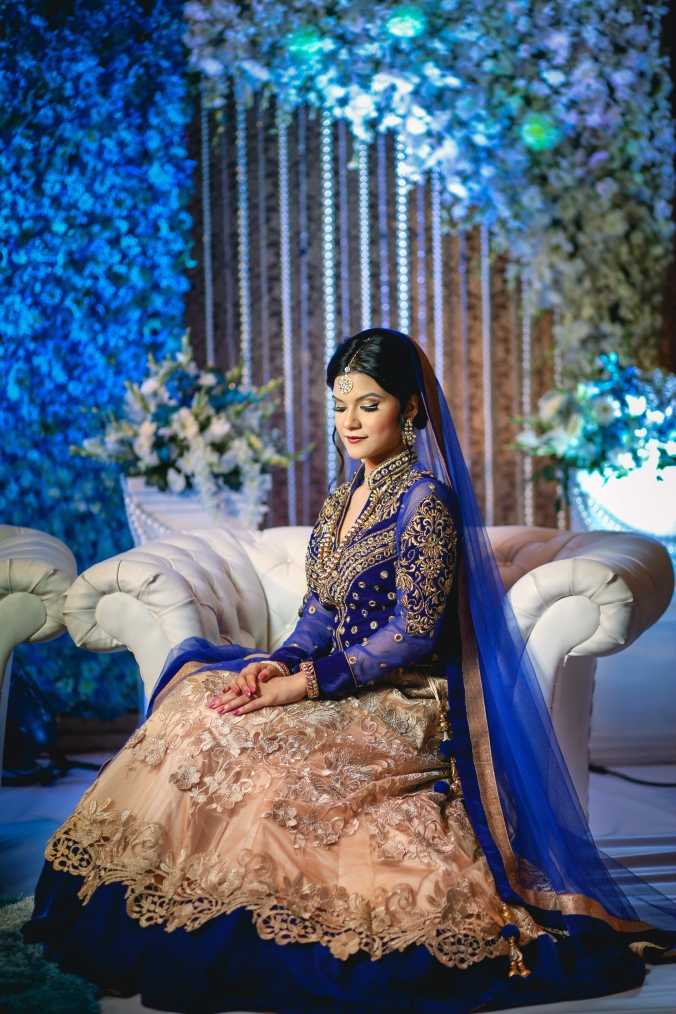
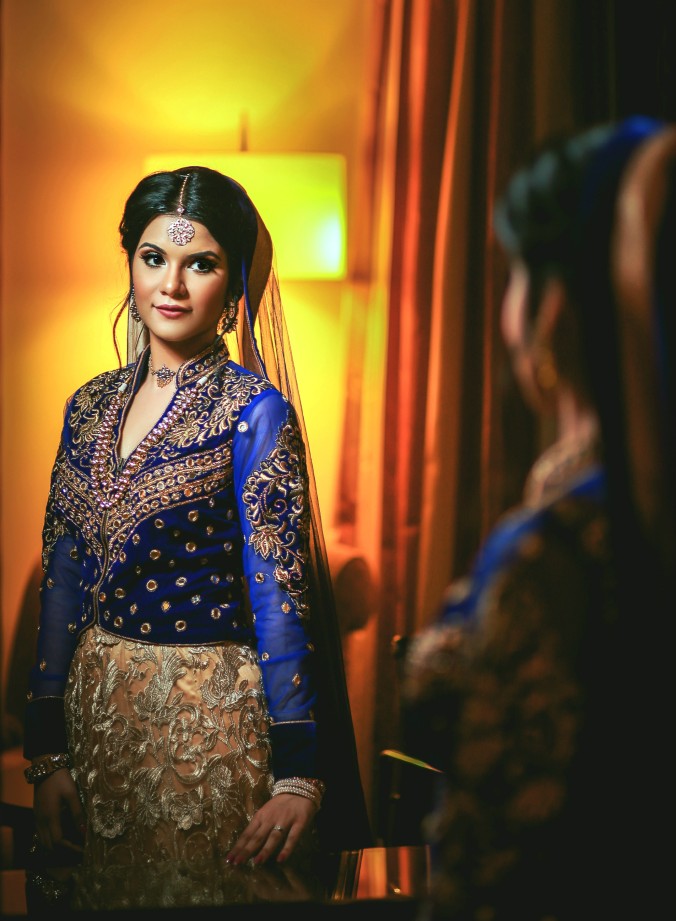
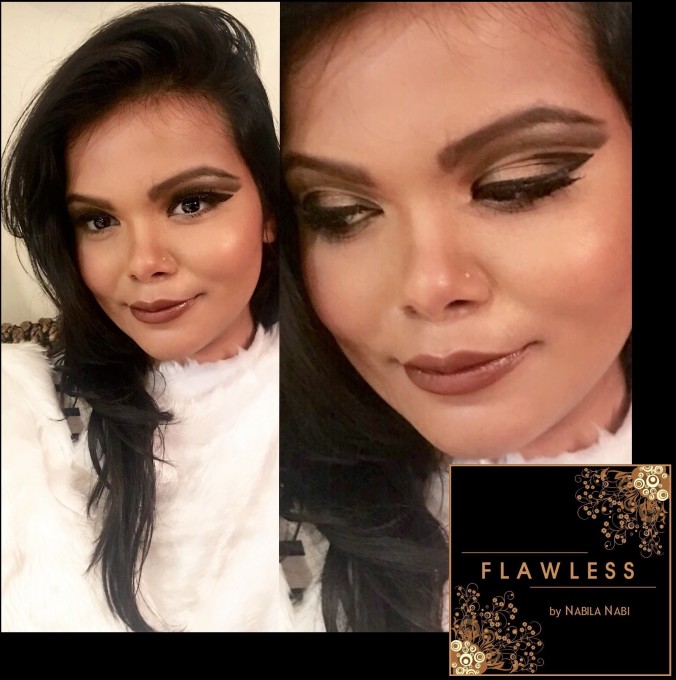
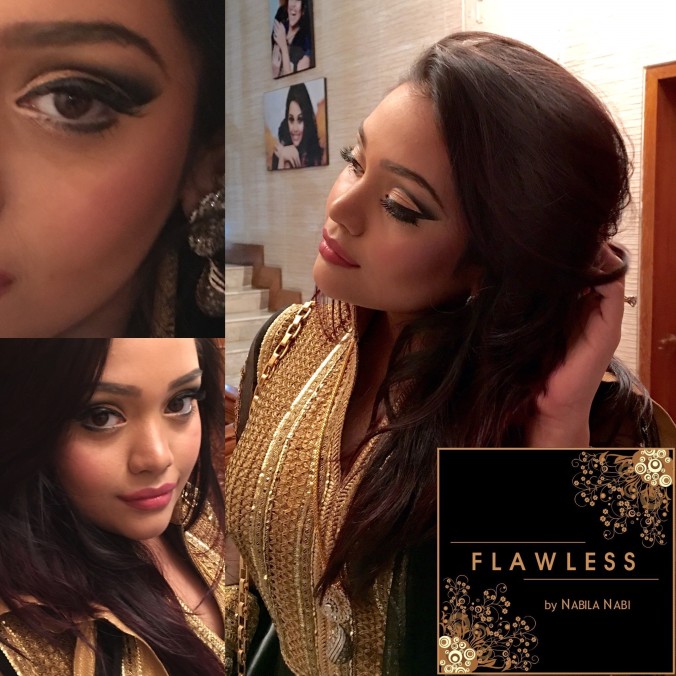
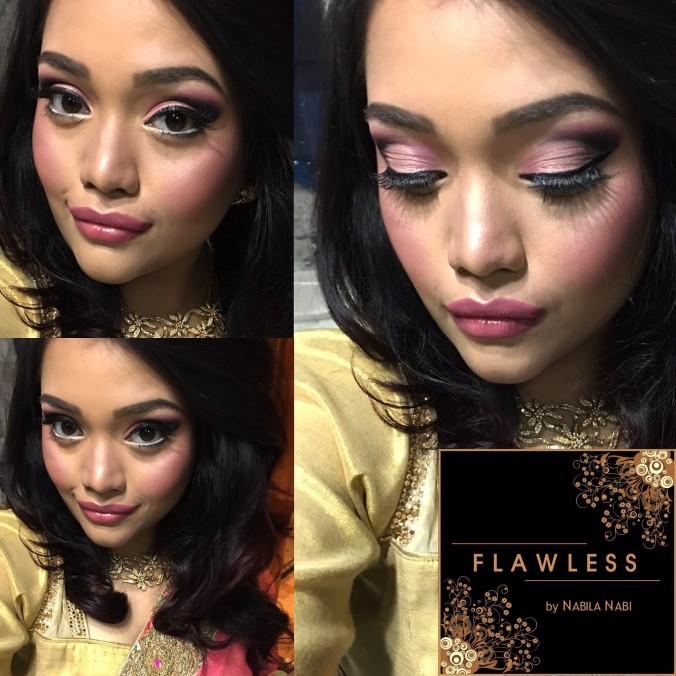
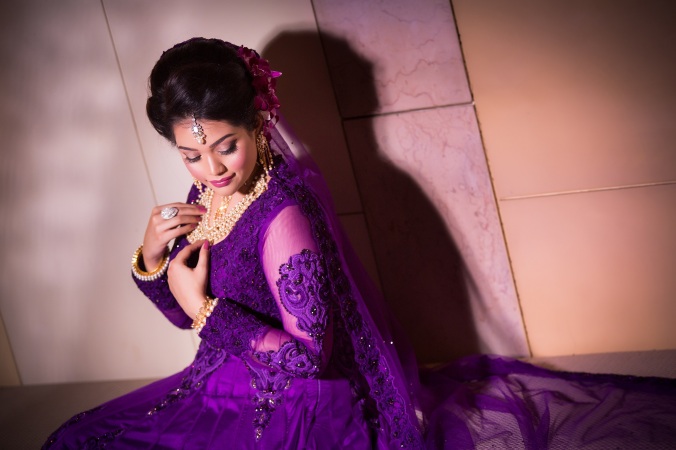
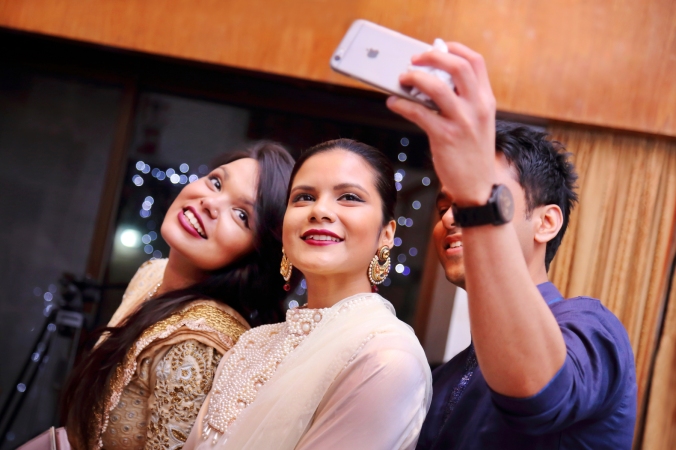
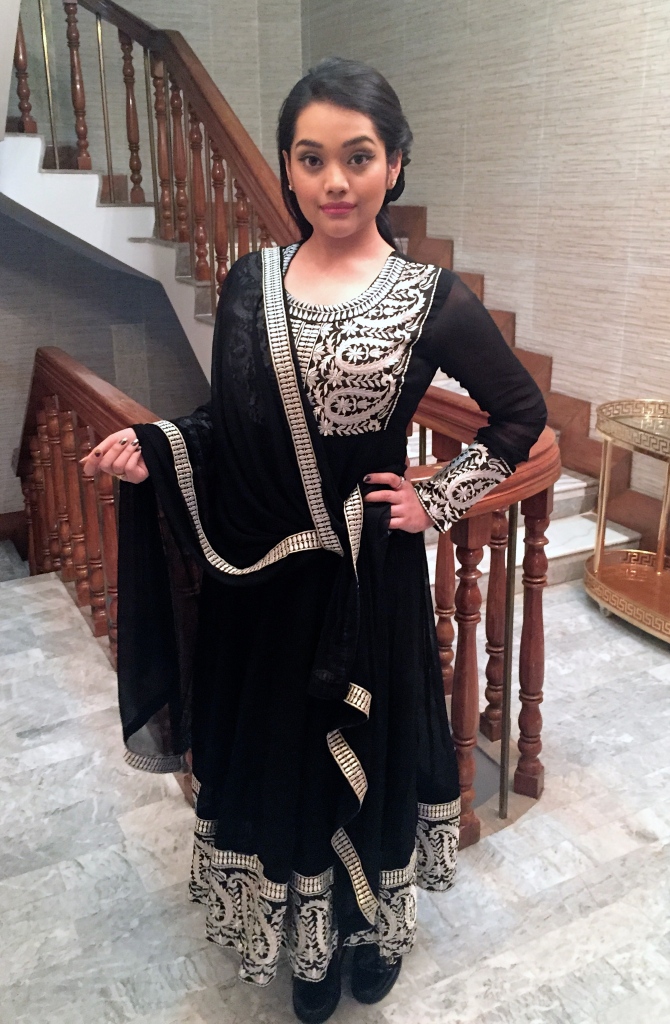
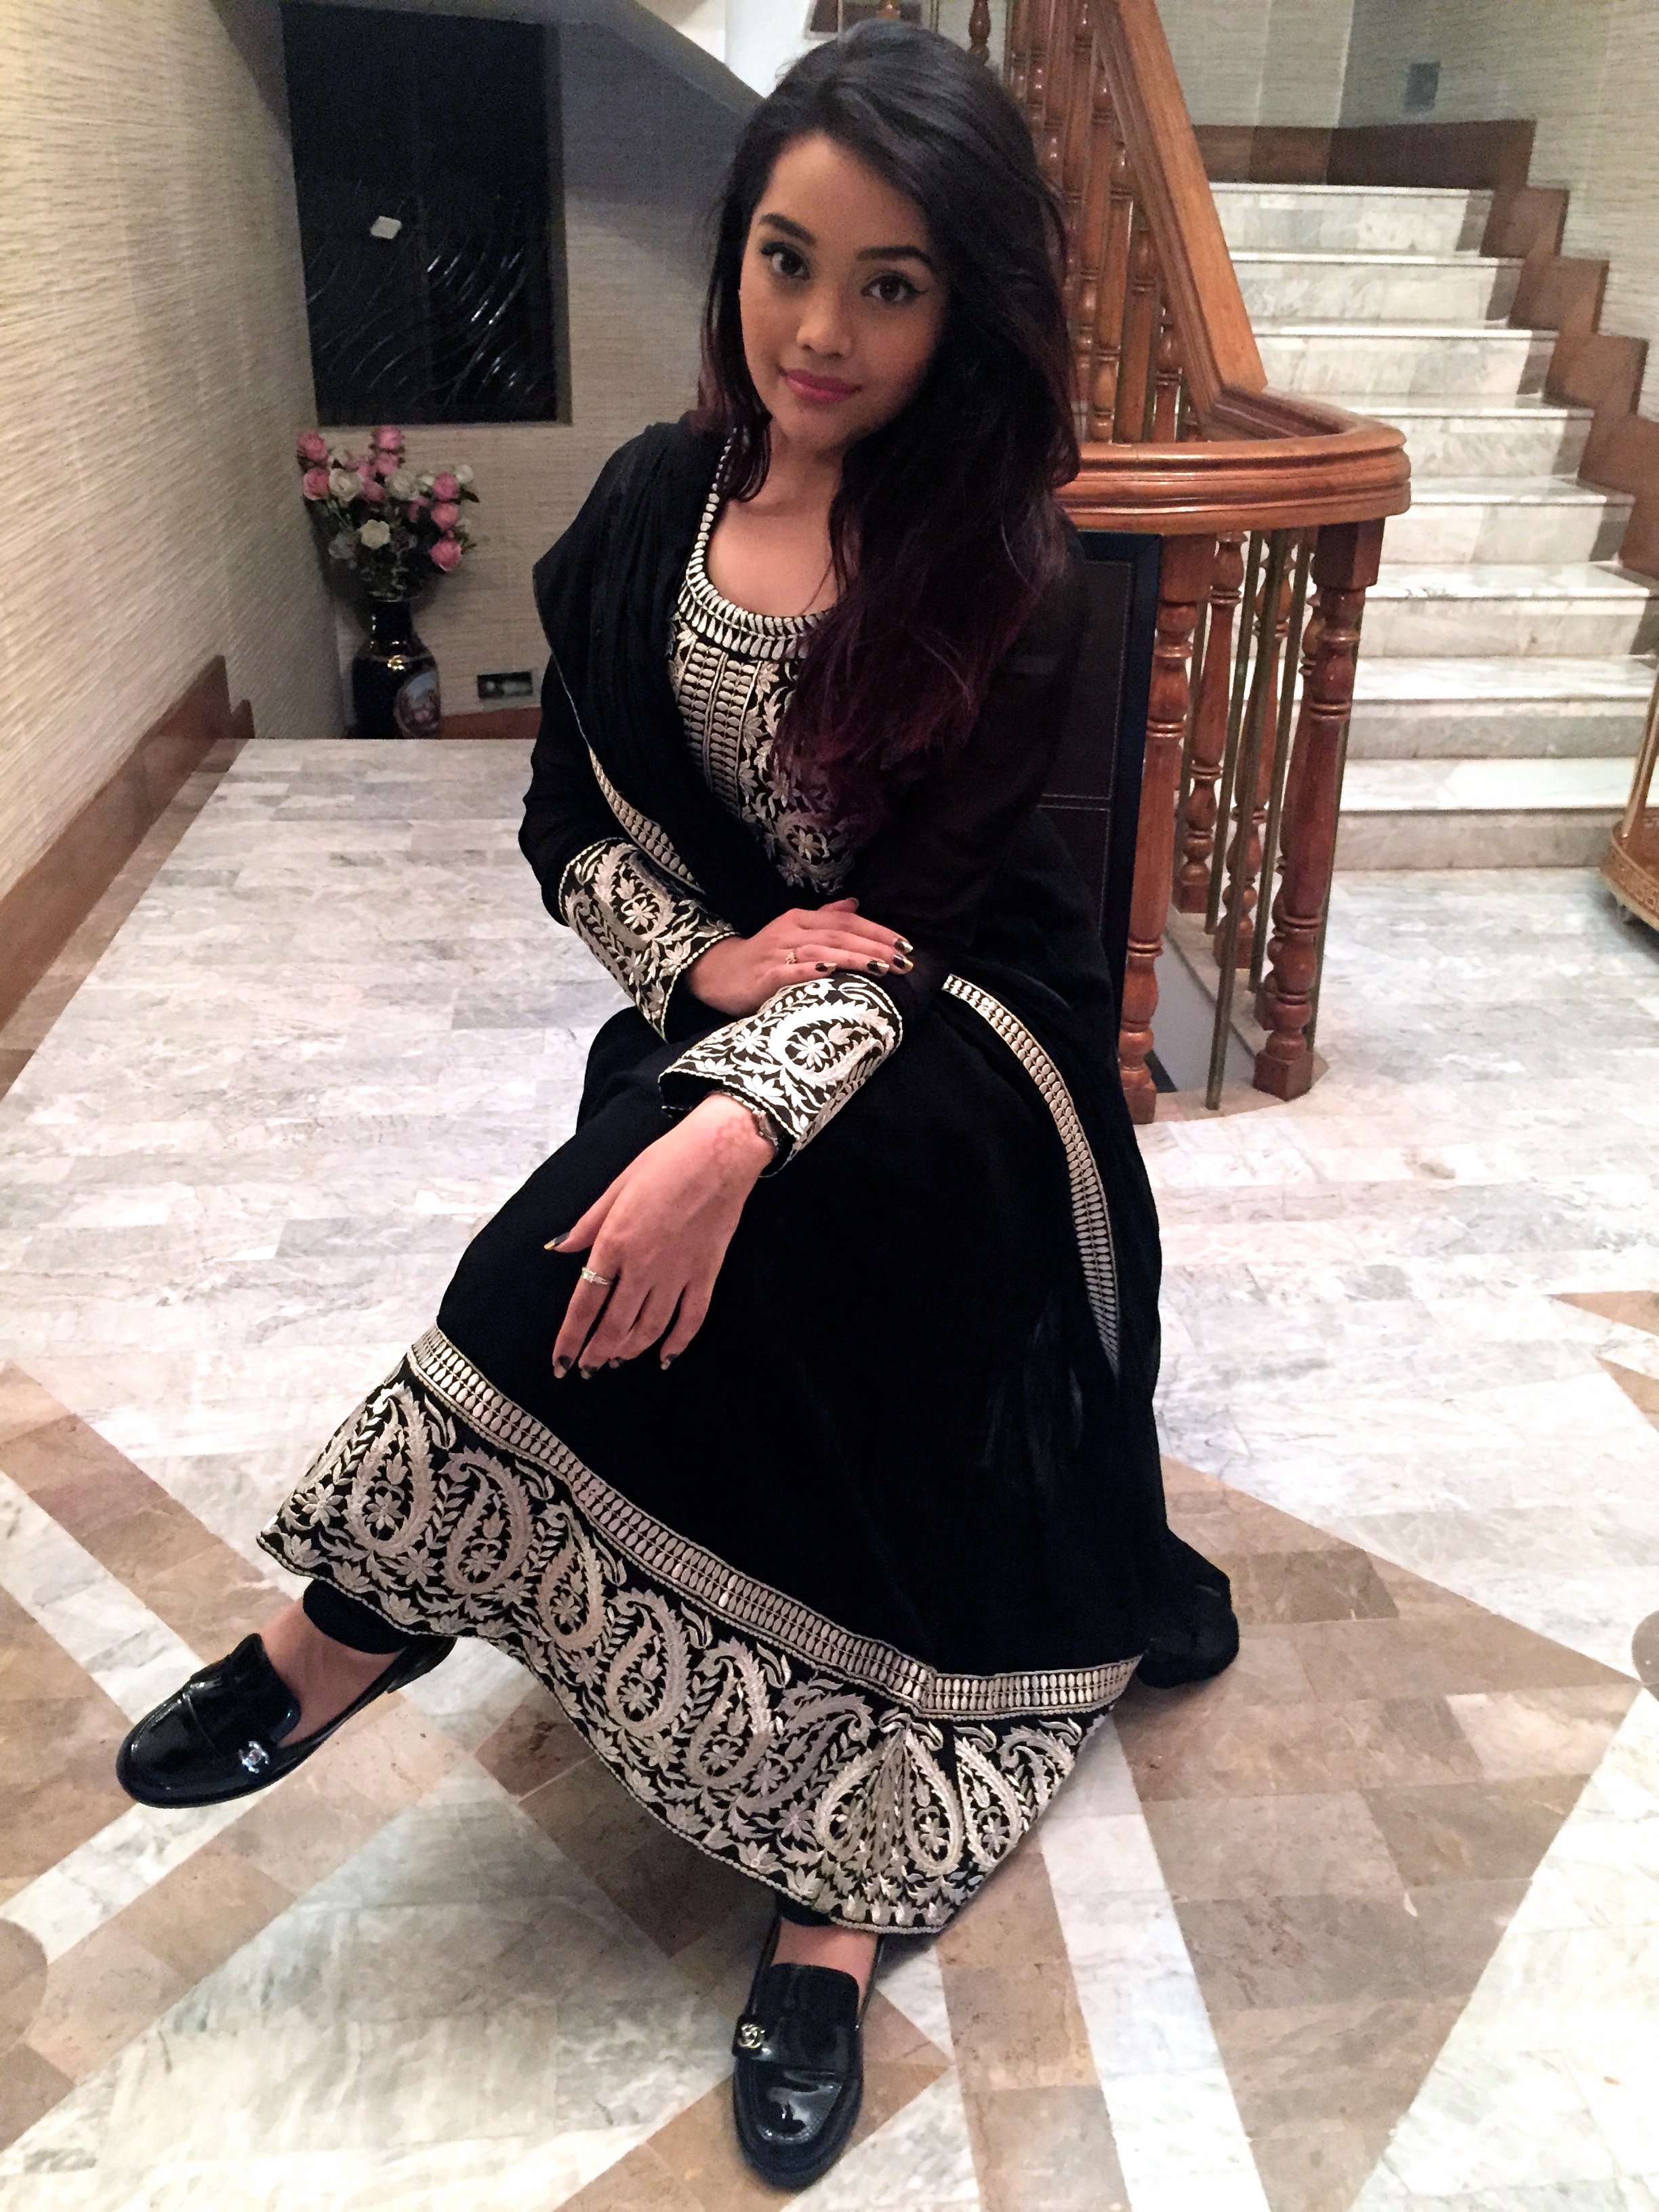
This look is a little something I did for a spring time event (it’s just getting warmer here in Australia). I find this particular look to be great for the daytime as you look done up, but not overdone.
FACE (in order)
Primer: Laura Mercier – Radiance
I have dry skin so this product is great for me anyway, but for a ‘luminous’ look I could not imagine starting off my make-up without it. May not be the best for oilier skin types in the heat though
Corrector: Bobbi Brown – Dark Bisque
Essential for anyone with my skin tone that wants to cover dark circles. Pink/red tones cover blue so although it might look too ‘peachy’ in colour, if you apply foundation or concealer (of your skin tone) over it, it blends perfectly and covers the dark circles.
Foundation: Laura Mercier Silk Crème – Bamboo Beige
Light coverage and definitely not cakey, but it may not be the best for you if you’re trying to cover blemishes. I apply extra around the eyes to help blend the corrector and skip the concealer by doing so.
Translucent Setting powder: Laura Mercier
Yes, I’m a Laura Mercier fan. I love the fact that many of their products give light coverage. If you’re going for the dewy skin look, avoid excessive setting powder as it can give a matt finish. Another tip, wait a little after applying your foundation+corrector/concealer (so that it’s almost dry to the touch), otherwise more setting powder will stick to the wet areas and give you an even finish.
Contour Kit: Australis – Light
This contour kit was such a bargain! It is almost exactly the as the Anastasia Beverly Hills Contour kit and comes in at less than ¼ of the price. Word of warning though, the powders are quite dark and pigmented. I had to go for the ‘light’ shade and I pretty much never do that in Australia. If you have very pale or fair skin, this may be too much for you.
Highlighter: Mac Minerlise Skin Finish – Soft Glow
I LOVE this product
I apply it under my eyebrows, bridge of my nose, cupid’s bow, on the cheekbones and in a reverse ‘C’ shape (from under the eyebrows to the top of the cheekbones). It’s super easy to apply!
Blush: Mac – Dollymix Sheertone Shimmer Blush
Only on the apples of the cheek but I blend upwards towards the cheekbones
EYES (in order)
Eye-shadow: Maybelline – Expert Wear Natural Smokes and Mac Minerlise Skin Finish – Soft Glow
I use a small amount of the dark brown eye-shadow shadow from the Maybelline palette across the crease, and blend it very well with the shimmery Mac product, which I apply on the tops of my eye-lids. I use more of the shimmery shadow in the inner corners of my eyes for added shine in that area.
Eye-liner: Make-Up Store
The company is actually called Make-up Store and in my experience, they produce the most pigmented (black-est) eye-liner. Application is also very easy – feels like controlling a felt tip pen.
Mascara: Maybelline – Volum’ Express ‘The Falsies’
I have a range of mascaras that I often pick from and this is great for when I’m in a rush. This is because one coat is sufficient for a daytime look and it’s also easy to apply. I have, however, sometimes found little flecks of mascara on my face if I have this on for the whole day.
I also don’t apply false lashes on a regular basis. Yes, they look great but the thought of applying glue and fake hair on my eyes for a simple daytime event puts me off. I’m lazy.
Eyebrows: Maybelline – Expert Wear Natural Smokes
I usually just fill in my eyebrows with a little bit of dark brown eyeshadow with a flat brush (for the daytime look). Although bold brows look great in photos, no matter what time of day, I feel like if I go overboard, under direct sunlight they can look like they’ve just been drawn on.
LIPS
Lip Liner: Bobbi Brown – Rose
I apply this on my lips under a variety of light coloured lipsticks. Gives my lips a nice pink undertone.
Lipstick: NARS Satin Lipstick – Niagara
Very smooth and I love the colour but it’s not the most long lasting lipstick out there.


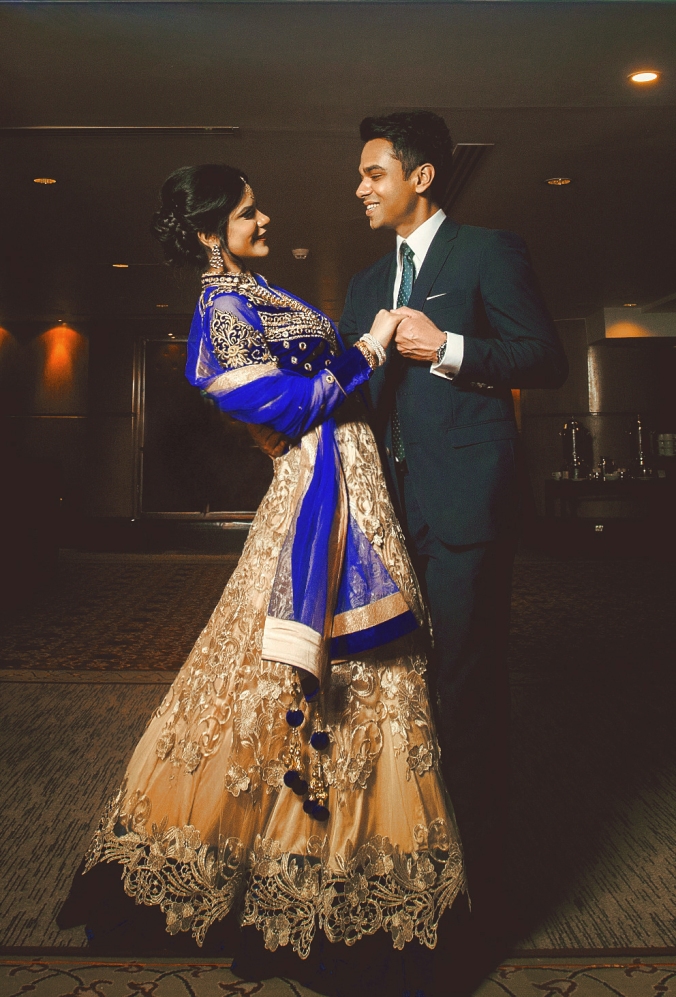

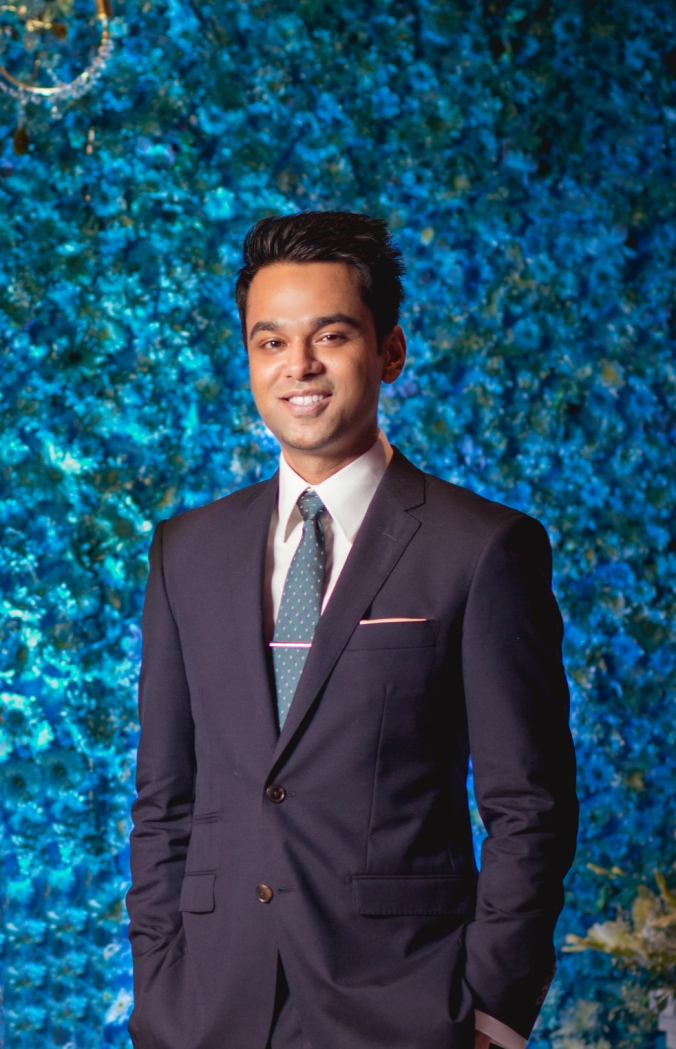
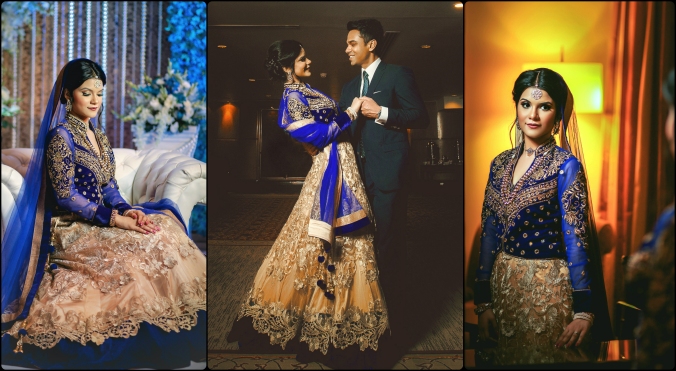


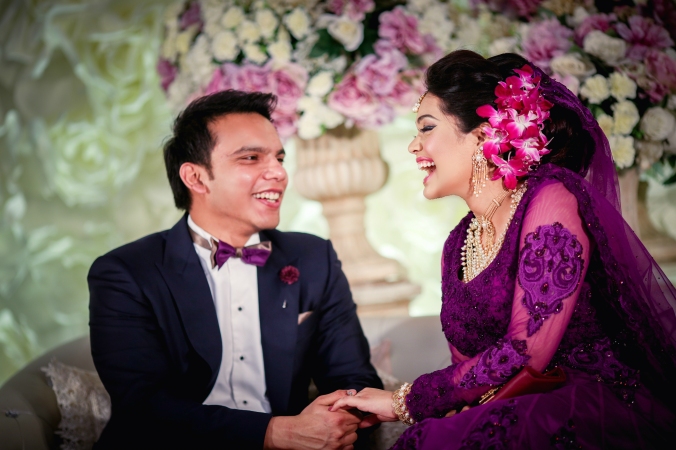


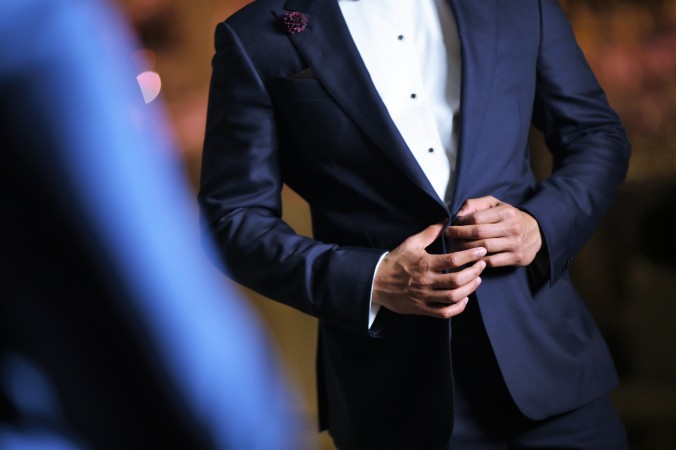
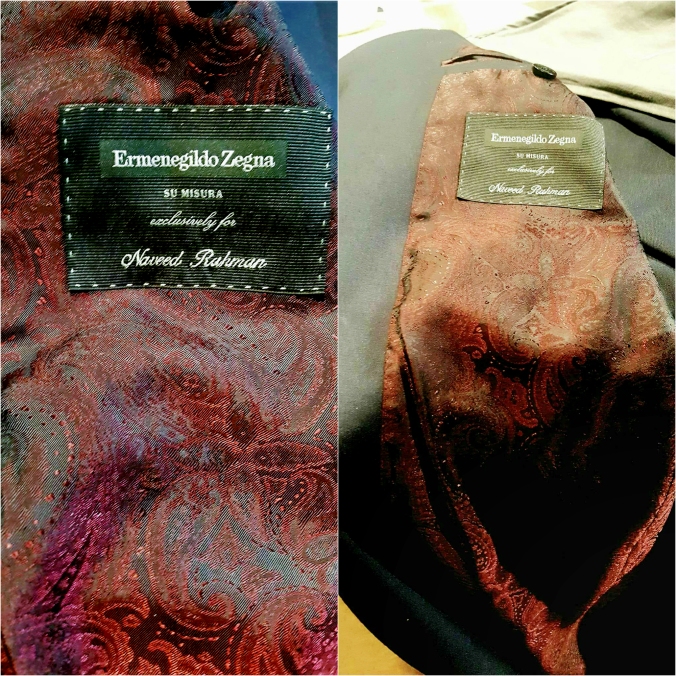
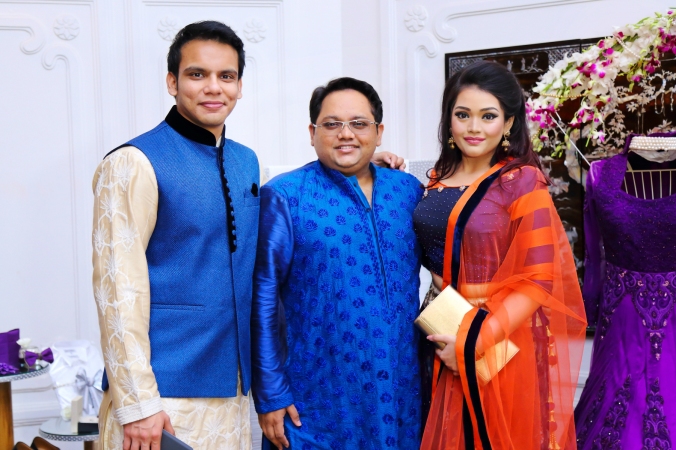
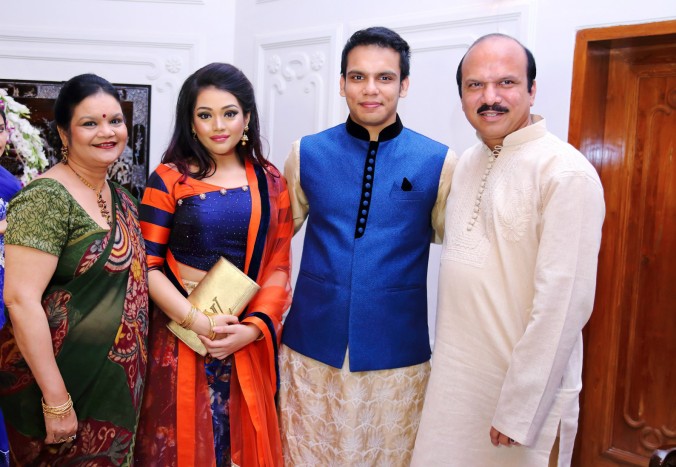
 I’ve long admired well-tailored suits, but it was during the six months before the engagement that I truly learned and understood the details and intricacies of a perfectly tailored suit or tuxedo. Naveed has always been picky about his suits, but for his engagement, he needed perfection and so a custom tuxedo that was tailored exactly to his body, from a company that is trusted for its suiting seemed appropriate to us.
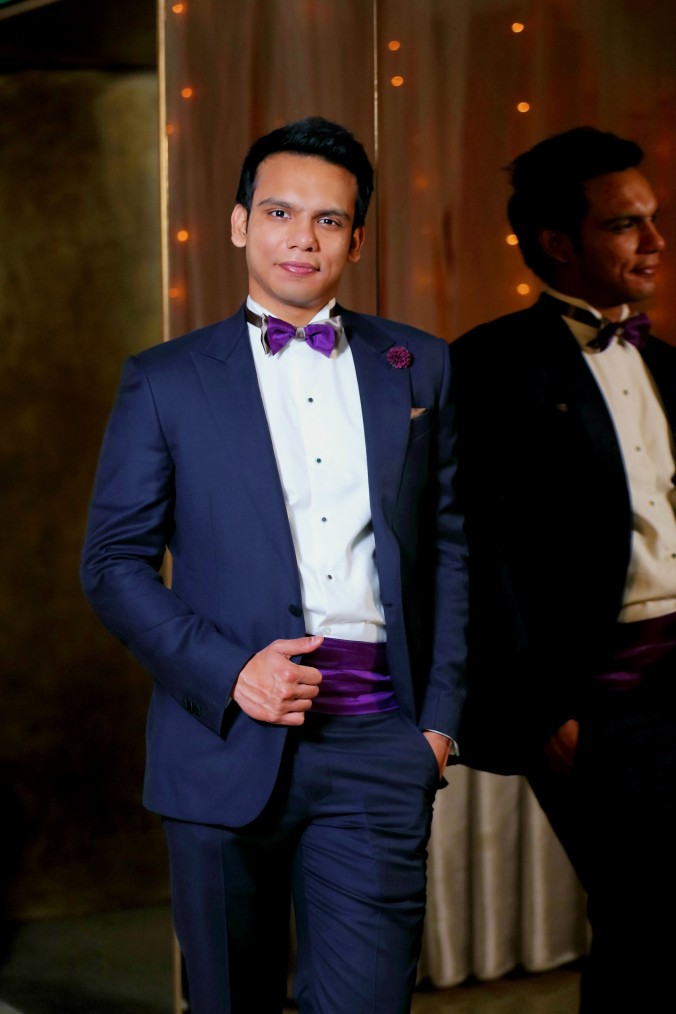
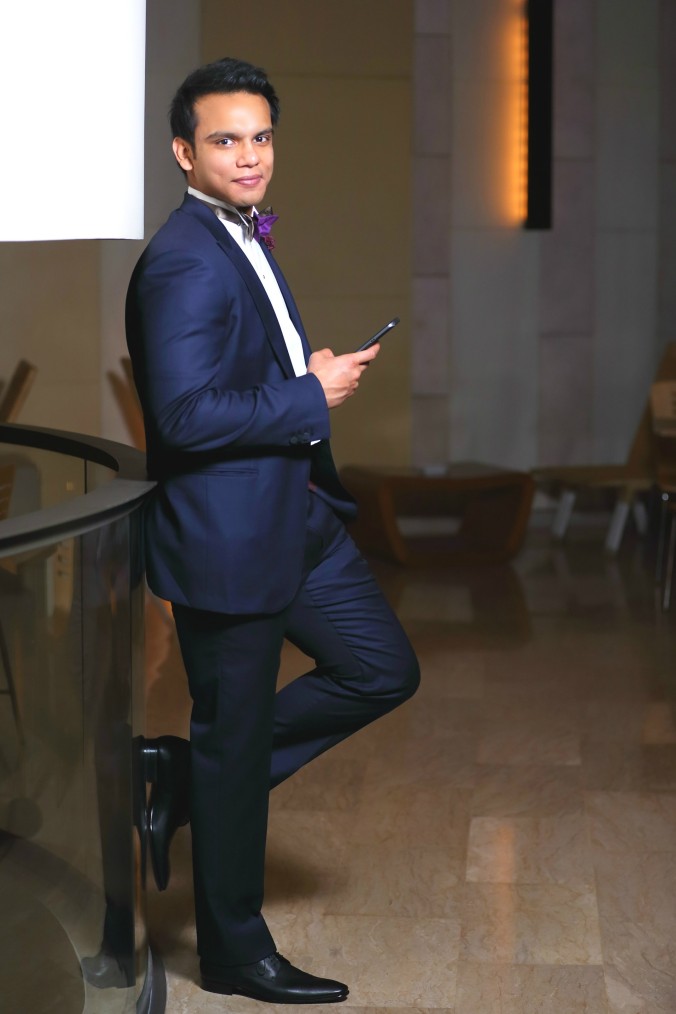
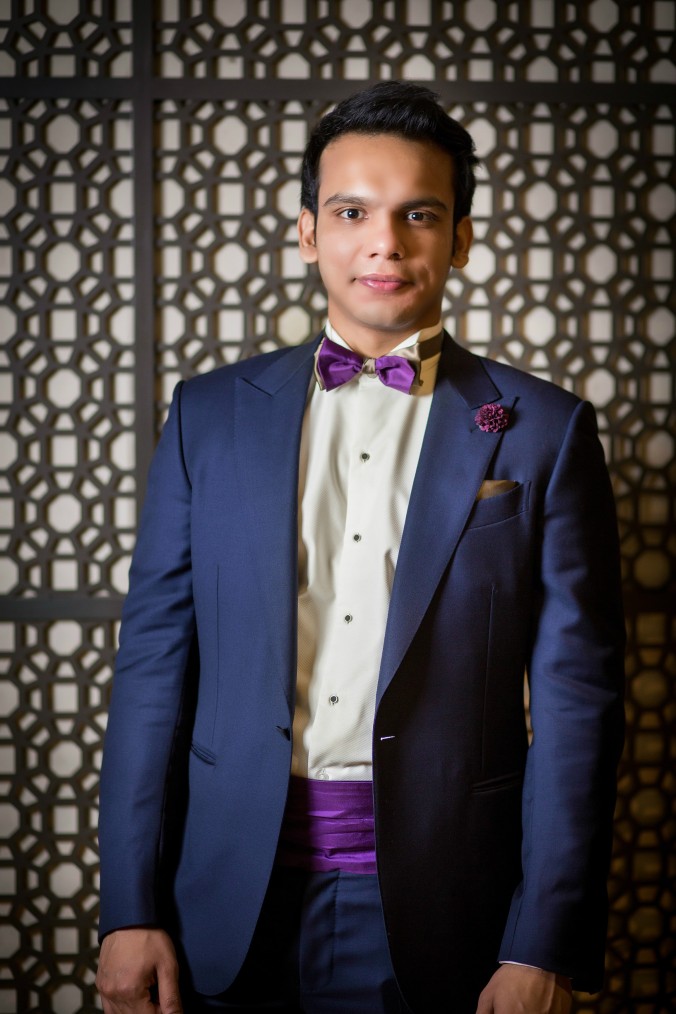
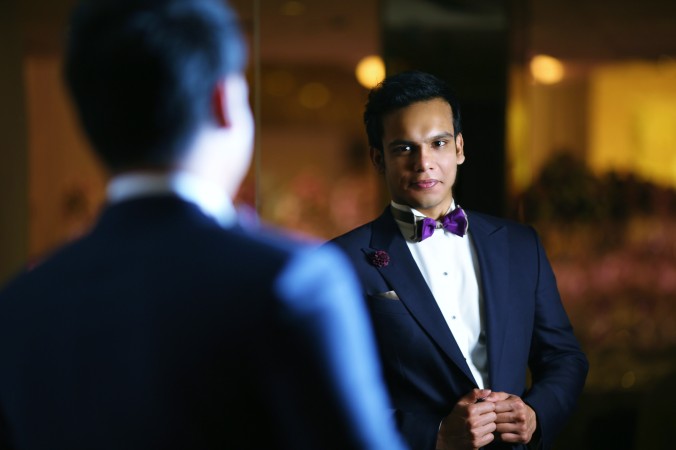 We loved the beautifully crafted black tuxedo, with wide peaked lapels (I learned so much about lapels during this time), that was on display at the Collins Street store (Melbourne, Australia), however, there was one small problem and that was the colour, black. In both our families, our mothers consider the colour black an inauspicious colour for any wedding or pre-wedding festivities, and it’s a sentiment that is echoed by many, but not all Bangladeshi families. Keeping this in consideration, we decided to opt for the colour navy. Now we know that many will argue that a tux jacket can only come in black, midnight blue or white, but we decided to switch it up a little and add a pop of colour and individuality.
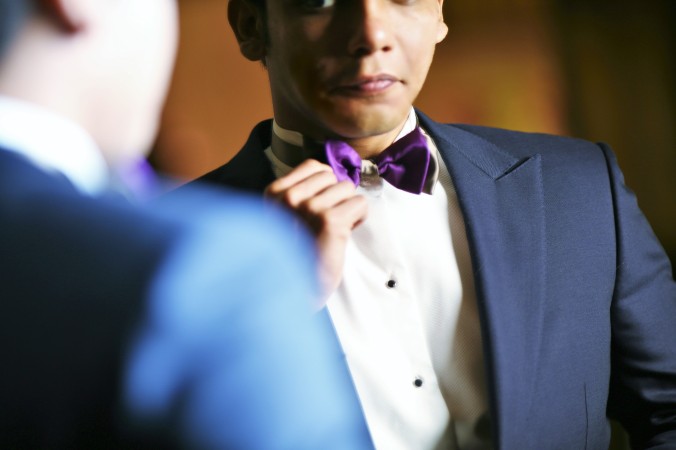


